Building a Quiet Server Rack in My Bedroom (and Why My Partner Wasn't Happy)
My journey into homelab glory started with a rather loud awakening – literally. Discover how I transformed a noisy server rack in my bedroom into a whisper-quiet setup, and the crucial lesson I learned about partner acceptance.
Hey fellow tech enthusiasts!
You know that itch, right? The one that says, "I need a homelab! I need to virtualize all the things!" Well, I scratched that itch. Hard. My grand plan was to build a powerful, flexible server rack right in the comfort of my bedroom. What could go wrong? Turns out, quite a bit, especially when your partner values sleep.
The Dream vs. The Reality (aka The Jet Engine)
My initial setup was... ambitious. I scavenged some enterprise-grade gear from work (with permission, of course!), thinking, "More power, more fun!" I had a 2U server, a managed switch, and a NAS, all humming away in a small open-frame rack. The first night, I was buzzing with excitement. My partner, however, was buzzing with a different kind of noise – the constant whir of server fans, the click-clack of hard drives, and the high-pitched whine of power supplies.
It started subtly. "Is that... a refrigerator running?" she'd ask. Then, "Can we turn that off? I can't sleep." Soon, it escalated to, "It's either the server rack or me." Uh oh. This was a critical moment. My homelab dream was clashing directly with domestic tranquility.
The Struggle: The Unbearable Noise and the Unhappy Partner
The problem wasn't just the overall volume; it was the *type* of noise. Enterprise gear is designed for data centers, not quiet bedrooms. The high RPM fans, the constant airflow, the vibrations – it all added up to a symphony of annoyance. My partner, bless her heart, tried to be understanding, but sleep deprivation is a powerful motivator for change. I knew I had to act, and fast, if I wanted to keep both my homelab and my relationship.
The Path to Quietness: My Technical Odyssey
This wasn't just about making things quieter; it was a full-blown engineering challenge. Here's what I learned and implemented:
1. Component Selection: Less is More (and Quieter)
• Servers: I ditched the power-hungry 2U server. My new strategy? Mini PCs! I invested in a couple of Intel NUCs (or similar small form-factor PCs like Dell OptiPlex Micro or HP Elitedesk Mini). These are incredibly power-efficient and, crucially, much quieter. I opted for models with passive cooling or very low-RPM fans. For my main virtualization host, I built a custom ITX system with a low-power CPU, a fanless power supply (or one with a very quiet fan), and an oversized CPU cooler to keep fan speeds to a minimum.
• Networking: My managed switch was a beast. I swapped it for a fanless managed switch. Yes, they exist! They might have fewer ports or less advanced features, but for my bedroom lab, the trade-off was worth it.
• Storage: This was a big one. Hard drives are inherently noisy. I moved all critical OS and frequently accessed data to SSDs. For bulk storage, I used enterprise-grade HDDs known for lower noise and vibration, mounted with rubber grommets to absorb any resonance.
2. Acoustic Management: The Rack Itself
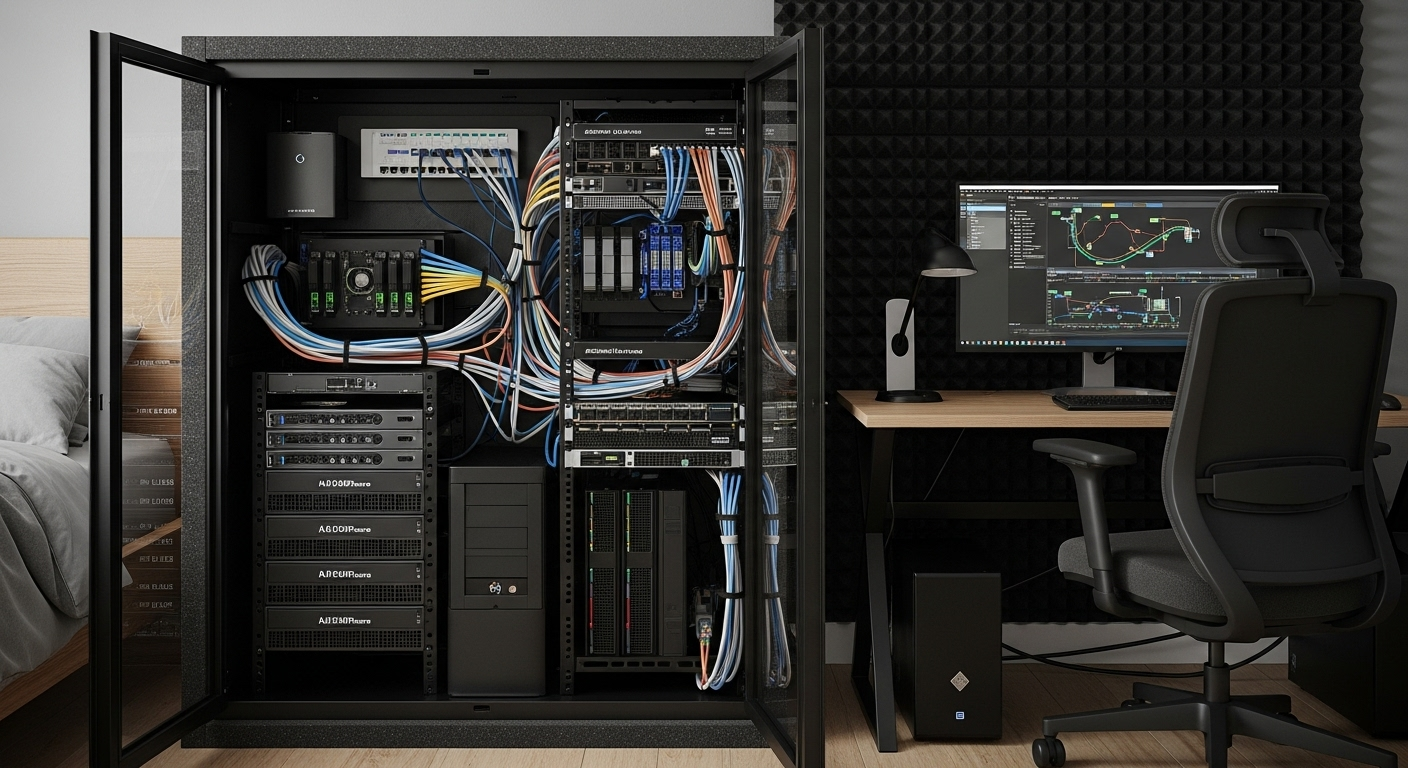
• Rack Choice: My open-frame rack was an echo chamber. I invested in a small, soundproof server cabinet. These are not cheap, but they are incredibly effective. Look for cabinets with acoustic foam lining and sealed cable entry points. If a dedicated soundproof rack is too much, even a standard enclosed rack can help, especially if you add your own acoustic foam.
• Vibration Dampening: Every component that vibrates contributes to noise. I used rubber feet, anti-vibration mats, and ensured nothing was directly touching the rack frame without some form of dampening.
• Cable Management: Believe it or not, good cable management helps with noise. Better airflow means fans don't have to work as hard, thus running at lower RPMs.
3. Software Tweaks and Power Management
• BIOS/UEFI Settings: Many motherboards allow you to customize fan curves. I spent time in the BIOS setting my fan speeds to be as low as possible while maintaining safe operating temperatures.
• OS Power Management: Configuring my OS (Proxmox, pfSense, etc.) to use power-saving modes when idle also reduced heat, which in turn kept fan speeds down.
The Success: A Whisper-Quiet Homelab and a Happy Partner
It was a journey of trial and error, but the results were transformative. My bedroom homelab is now virtually silent. You have to put your ear right up to the rack to hear anything. More importantly, my partner is happy, and I can pursue my homelab passions without sacrificing domestic harmony.
What I learned is that building a homelab isn't just about raw power or cool tech; it's about thoughtful design, understanding your environment, and, critically, considering the "Partner Acceptance Factor" (PAF). Sometimes, the most powerful server isn't the best one; the quietest one is.
So, if you're thinking of setting up a homelab in a shared living space, learn from my early mistakes. Prioritize quietness from day one. Your ears (and your partner) will thank you!